Logjam: Difference between revisions
Jump to navigation
Jump to search
Updated link to b18 download. Changed current version to b18. |
m →Map Locations: Moved points to fit new images |
||
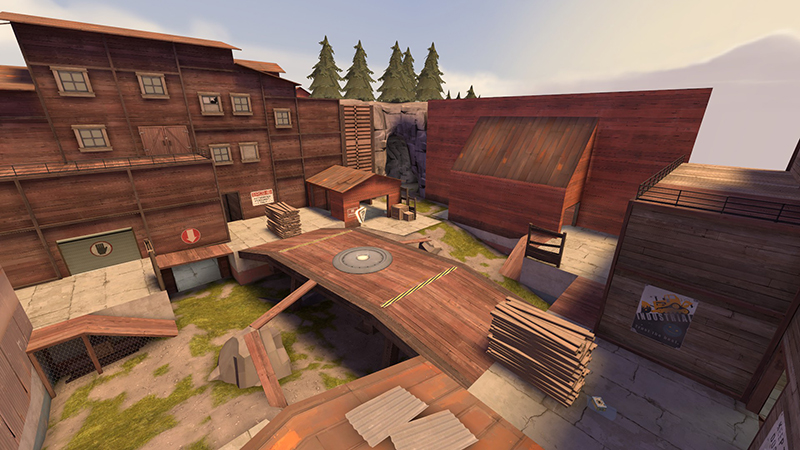
| Line 27: | Line 27: | ||
| area1 = Under | | area1 = Under | ||
| x1 = 318px | | x1 = 318px | ||
| y1 = | | y1 = 289px | ||
| area2 = Lower Log-Room | | area2 = Lower Log-Room | ||
| x2 = | | x2 = 166px | ||
| y2 = 225px | | y2 = 225px | ||
| area3 = Top Log-Room | | area3 = Top Log-Room | ||
| x3 = | | x3 = 204px | ||
| y3 = | | y3 = 162px | ||
| area4 = Shack / Hut | | area4 = Shack / Hut | ||
| x4 = | | x4 = 353px | ||
| y4 = | | y4 = 153px | ||
| area5 = Choke | | area5 = Choke | ||
| x5 = 423px | | x5 = 423px | ||
| y5 = 141px | | y5 = 141px | ||
| area5 = Kitchen | | area5 = Kitchen | ||
| x5 = | | x5 = 552px | ||
| y5 = 169px | | y5 = 169px | ||
}} | }} | ||
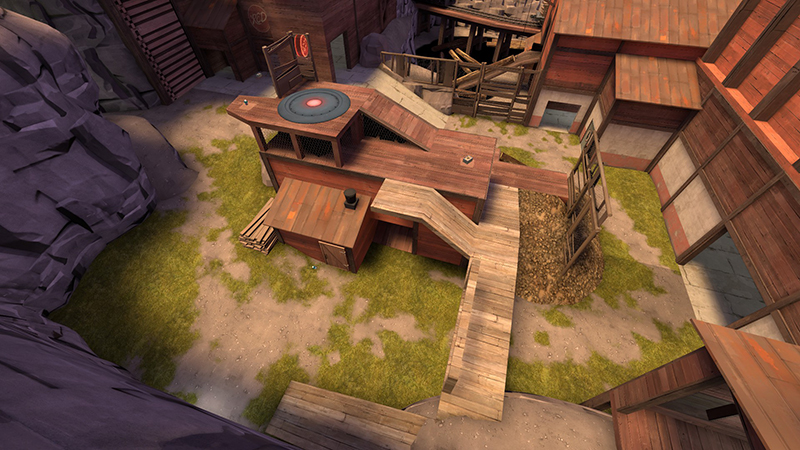
| Line 50: | Line 50: | ||
| image = Logjam second 1.jpeg | | image = Logjam second 1.jpeg | ||
| area1 = Cave | | area1 = Cave | ||
| x1 = | | x1 = 572px | ||
| y1 = | | y1 = 179px | ||
| area2 = Overhang / Doughnut | | area2 = Overhang / Doughnut | ||
| x2 = | | x2 = 405px | ||
| y2 = | | y2 = 123px | ||
| area3 = Underpants | | area3 = Underpants | ||
| x3 = | | x3 = 369px | ||
| y3 = | | y3 = 248px | ||
| area4 = Main | | area4 = Main | ||
| x4 = 279px | | x4 = 279px | ||
| y4 = | | y4 = 158px | ||
| area5 = Flank | | area5 = Flank | ||
| x5 = | | x5 = 63px | ||
| y5 = | | y5 = 312px | ||
}} | }} | ||
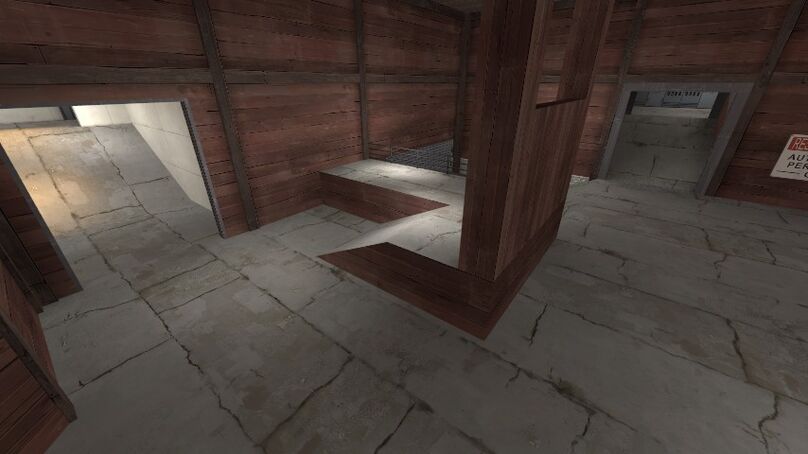
| Line 72: | Line 72: | ||
| area1 = Main | | area1 = Main | ||
| x1 = 434px | | x1 = 434px | ||
| y1 = | | y1 = 129px | ||
| area2 = Sneaky | | area2 = Sneaky | ||
| x2 = 100px | | x2 = 100px | ||
| Line 81: | Line 81: | ||
| area4 = Wall | | area4 = Wall | ||
| x4 = 528px | | x4 = 528px | ||
| y4 = | | y4 = 195px | ||
}} | }} | ||
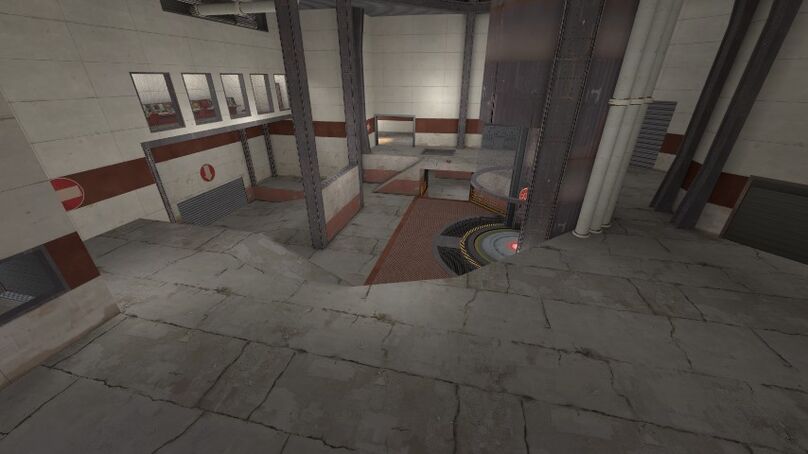
{{Map locations | {{Map locations | ||
| Line 87: | Line 87: | ||
| image = Logjam_last_2.jpeg | | image = Logjam_last_2.jpeg | ||
| area1 = Shutter | | area1 = Shutter | ||
| x1 = | | x1 = 35px | ||
| y1 = 220px | | y1 = 220px | ||
| area2 = Top Right / Top Sneaky | | area2 = Top Right / Top Sneaky | ||
| x2 = | | x2 = 375px | ||
| y2 = | | y2 = 107px | ||
| area3 = Lower | | area3 = (Lower) Right / Sneaky | ||
| x3 = | | x3 = 438px | ||
| y3 = | | y3 = 165px | ||
| area4 = Main | | area4 = Main | ||
| x4 = | | x4 = 219px | ||
| y4 = 193px | | y4 = 193px | ||
| area5 = Block | | area5 = Block | ||
| x5 = | | x5 = 302px | ||
| y5 = 195px | | y5 = 195px | ||
}} | }} | ||
Revision as of 17:18, 3 February 2015
Template:Map infobox cp_logjam is a 5cp custom map created by Hyce. Currently in the version cp_logjam_b18.
History
Usage in competitive
Logjam is used mainly in 6v6. It is currently in the ETF2L Season 20 map pool and was used in the ETF2L Season 19 and CEVO-P Season 6 map pools. The map was also featured in ozfortress' Second Summer Cup and ETF2L's Logjam Cup.
Map Locations
Middle Point
| Logjam — The middle point |
|---|

Under Lower Log-Room Top Log-Room Shack / Hut Kitchen |
Second Point
| Logjam — The second point |
|---|

Cave Overhang / Doughnut Underpants Main Flank |
Last
| Logjam - Lobby |
|---|

Main Sneaky Flank / I.T. / 19 Wall |
| Logjam — The last point |
|---|

Shutter Top Right / Top Sneaky (Lower) Right / Sneaky Main Block |
Links